
Turn Your Phone into a Pro Webcam for Under RM110
Most laptop webcams are terrible. Even on a RM5,000 laptop, you often get a grainy 720p sensor that makes you look like a hostage in a dimly lit room.
The common reaction is to buy a dedicated webcam. But here is the trap: to get a webcam that actually looks good (like the Logitech Brio or Razer Kiyo), you need to spend RM400–RM800. A budget RM100 webcam usually isn’t much better than what you already have.
Pricing & affiliate disclosure:
Prices listed in this guide were checked on 31/12/2025 and may change over time. Some product links are affiliate links, which means this site may earn a small commission at no extra cost to you. All product selections are based on practical use cases and value, not sponsorship.
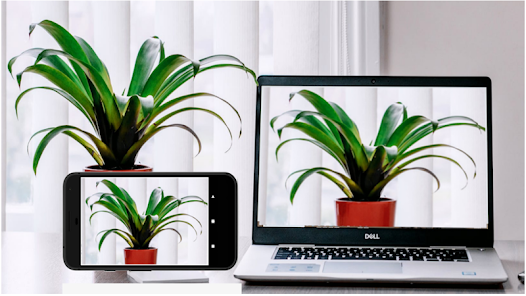
The Solution: You already own a device with a world-class 4K camera, advanced low-light processing, and auto-focus. It’s your smartphone.
All you need is a way to hold it stable and free software to connect it. This guide shows you how to build a pro-level webcam setup for under RM110.
TL;DR
Want significantly better video quality than your laptop webcam for under RM110?
What you need:
- Your smartphone (already have it)
- Phone holder: Ulanzi HP001 (RM102.90) or MT-08 (RM42.90)
- Iriun Webcam app (free)
Result: 4K video quality rivaling RM800+ webcams, thanks to your phone’s superior camera sensor and AI processing.
Setup time: 10-20 seconds before each call. Use USB for best quality + charging.
Why This “Hack” Beats a Dedicated Webcam
- Sensor Size: Smartphone camera sensors are significantly larger than those in standard webcams. This means they capture more light, giving you a brighter image with natural background blur (bokeh) without needing expensive ring lights.
- AI Processing: Phones use powerful chips to fix color balance and reduce grain in real-time.
- Cost Efficiency: You are only paying for the stand. The expensive electronics (camera, processor, Wi-Fi chip) are already in your pocket.
The Gear: What You Need to Buy
We need a mount that is stable, height-adjustable, and keeps your desk clutter-free.
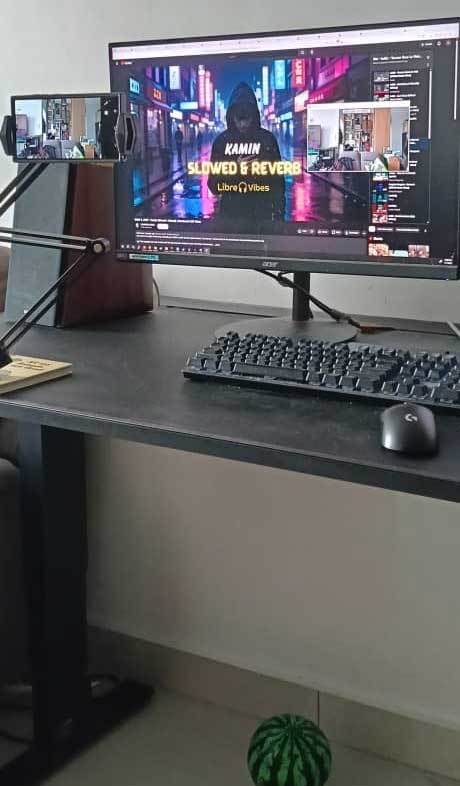
The “Pro” Choice: Ulanzi VIJIM HP001
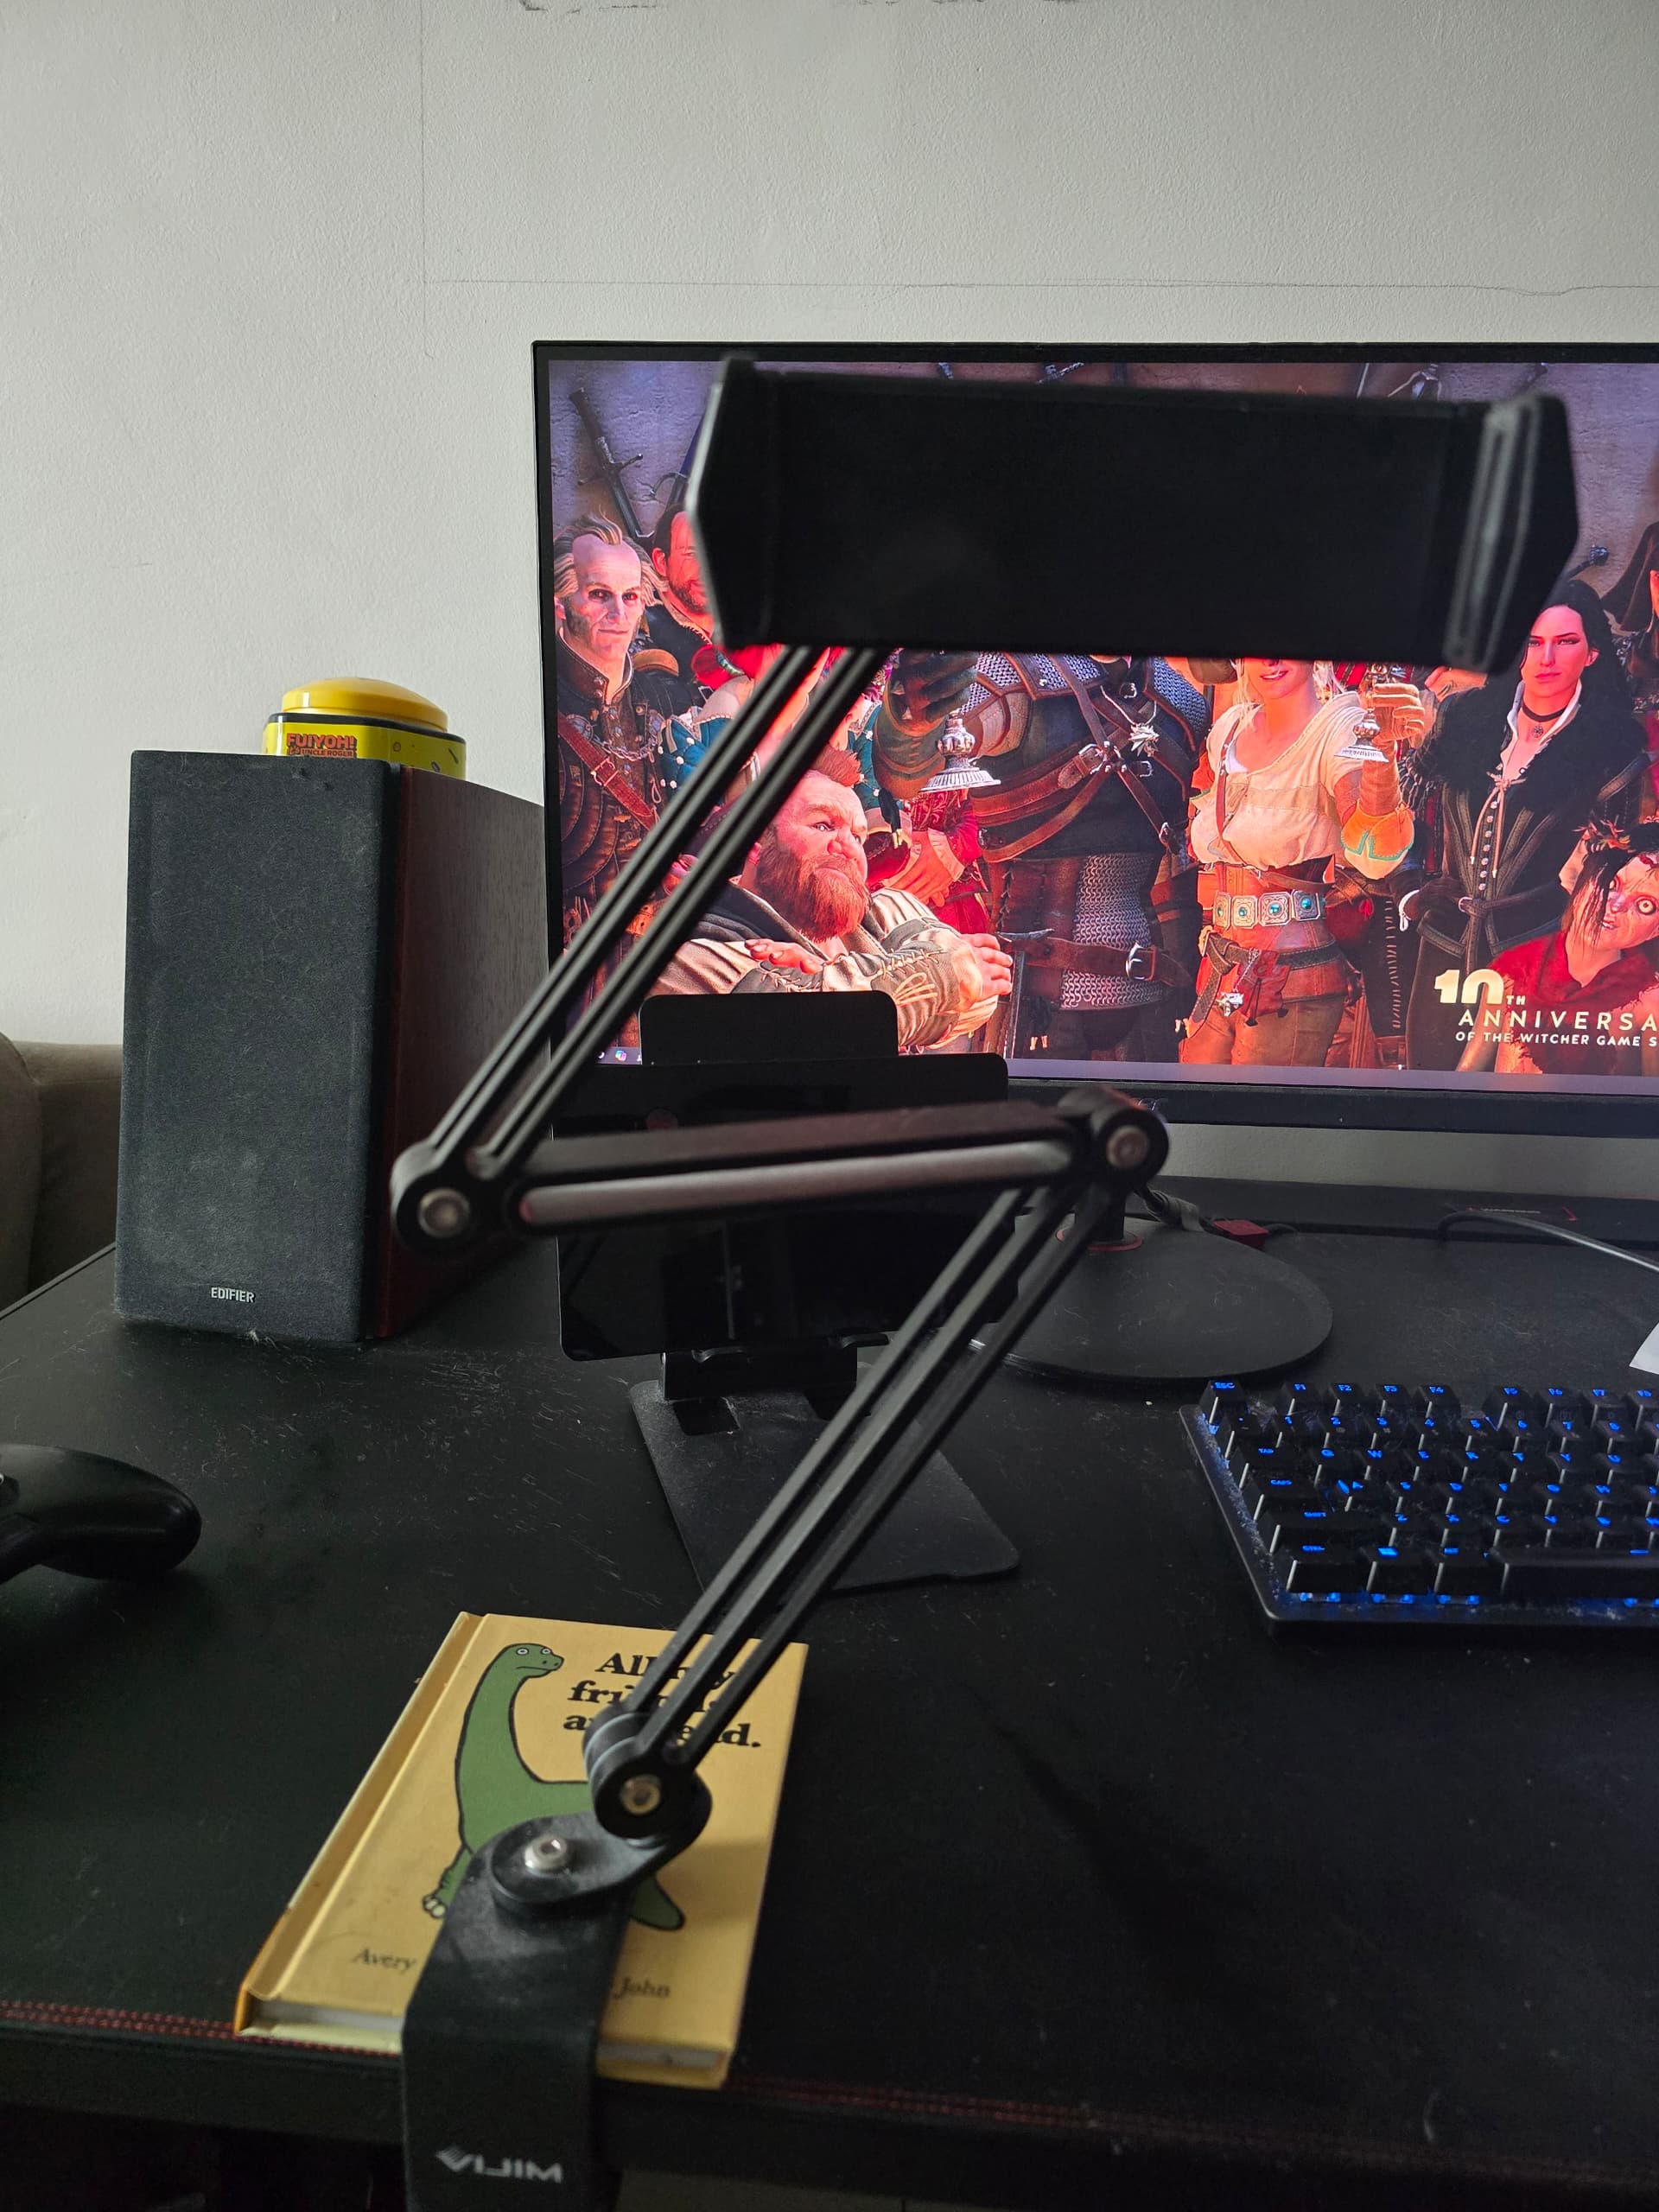

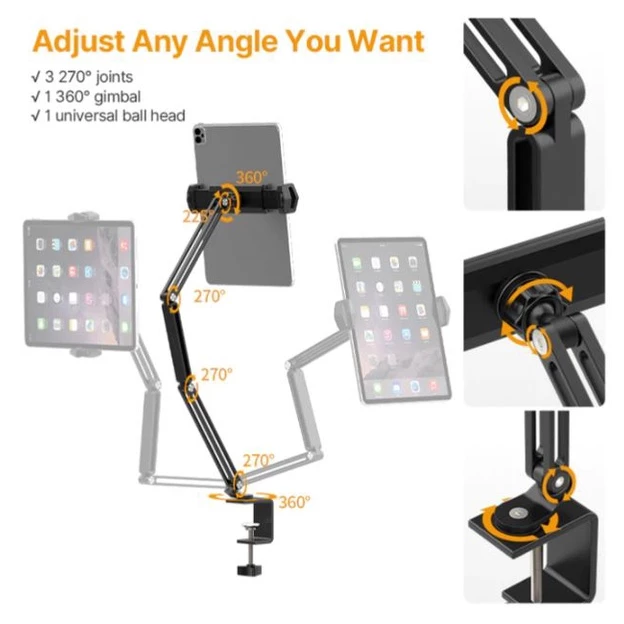
Ulanzi VIJIM HP001 Desk Stand
C-clamp desk mount with flexible multi-jointed arm. Perfect for positioning your phone at eye level for video calls or as a document camera.
RM102.90
Best for: Fixed desk setups where you want the camera at perfect eye level.
Why this specific model? Unlike a tripod that takes up desk space, this uses a C-clamp to attach to the edge of your desk. It features a flexible, multi-jointed arm that allows you to:
- Position the phone camera above your monitor (eye level) so you aren’t looking down at your colleagues.
- Pull it close for calls and push it away when done.
- Angle it downwards to use as a document camera for showing sketches or notes on your desk.
The “Budget” Alternative: Ulanzi MT-08
Best for: Travelers or if you want to spend under RM40.
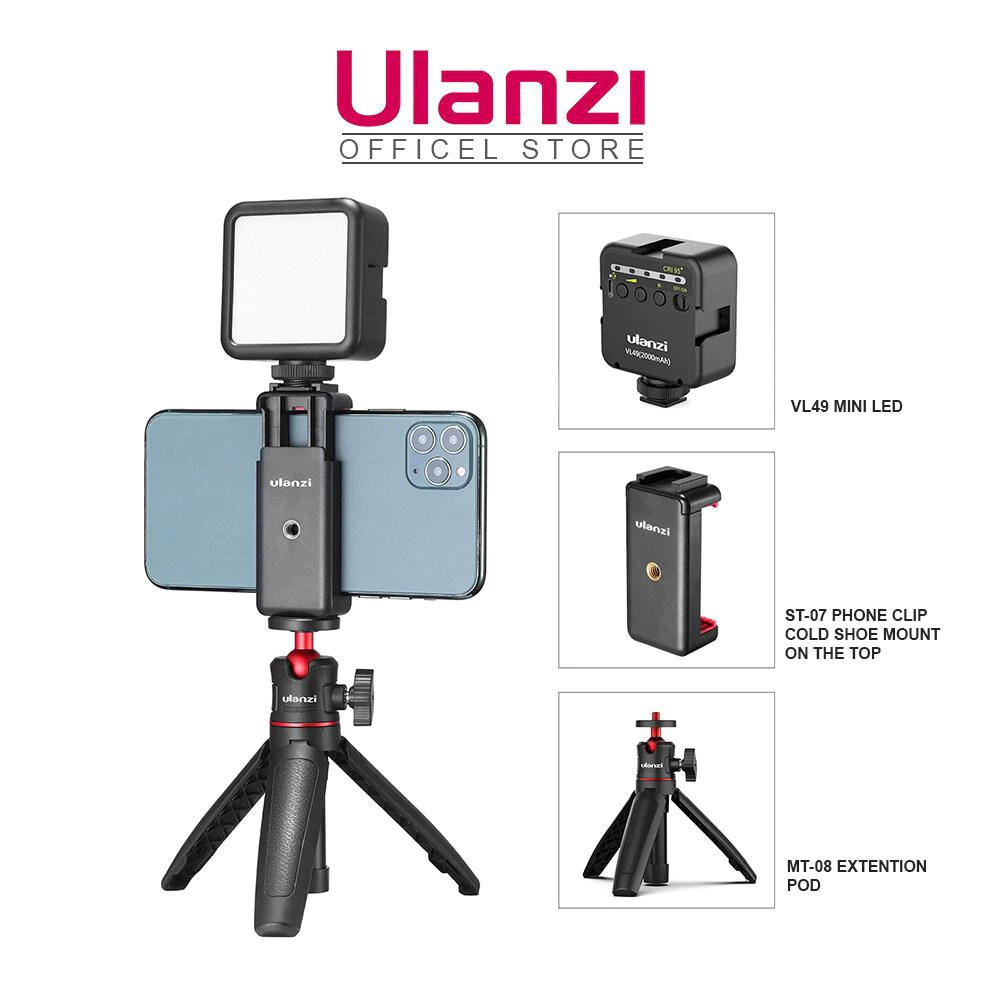
Ulanzi MT-08 Mini Extendable Tripod
Compact tabletop tripod that's portable and affordable. Great for travelers or those on a tight budget.
RM42.90
This is a small tabletop tripod. It’s less ergonomic (it sits lower on the desk), but it is cheap, portable, and gets the job done if you stack it on a few books.
The Software: Iriun Webcam
You need an app to transmit the video from your phone to your PC/Mac. We recommend Iriun Webcam.
- Cost: Free (Basic version is fully functional; Pro version removes watermark for ~RM25 one-time fee).
- Compatibility: Windows, Mac, iOS, Android.
- Key Feature: Supports 4K resolution over USB or Wi-Fi with very low latency.
Why not other apps? While apps like Camo or DroidCam are good, Iriun offers the highest resolution (up to 4K) in its free tier and has one of the cleanest, lightest desktop drivers. I’ve had issues with DroidCam, Iriun is by far the easiest to use.
Step-by-Step Setup Guide
1. Hardware Setup
- Mount the Stand: Clamp the Ulanzi HP001 to the back edge of your desk (or to the sides if you still have room).
- Position the Phone: Place your phone in the holder. Use the Rear Main Camera (not the selfie camera) facing you. The rear cameras are always higher quality.
- Cable Up: Connect your phone to your computer via USB Cable.
- Tip: Wi-Fi works, but USB is superior because it charges your phone during the meeting and eliminates video lag.
2. Software Installation
- On Phone: Download “Iriun 4K Webcam” from the Apple App Store or Google Play Store.
- On Computer: Go to iriun.com and download the driver for Windows or Mac.
3. Connection & Config
- Open the Iriun app on both your phone and computer.
- They should automatically find each other. If you plugged in the USB cable, the connection is usually instant.
- Orientation: If your video is sideways, unlock your phone’s orientation lock and rotate the phone physically.
4. Meeting App Settings
- Open Zoom / Microsoft Teams / Google Meet.
- Go to Settings > Video.
- Change the Camera Source from “Integrated Webcam” to “Iriun Webcam”.
Comparison: Phone Setup vs. Dedicated Budget Webcam
Is it worth the extra effort to hook up your phone? Here is how the RM55 stand setup compares to a standard budget webcam like the Rapoo C260 mentioned in our Creator Setup.
| Feature | Phone + Ulanzi HP001 Stand | Budget Webcam (e.g., Rapoo C260) |
|---|---|---|
| Image Quality | Superior. Modern phones use advanced sensors and AI processing for excellent low-light performance and natural depth of field. | Good. Decent 1080p for meetings, but struggles with grain in dim lighting or high-contrast scenes. |
| Resolution | Up to 4K. (Dependent on your phone model). | 1080p Full HD. Sharp enough for Zoom, but less detail than a phone camera. |
| Field of View | Variable. Use standard wide or ultra-wide phone lenses depending on how much of your room you want to show. | Fixed Wide Angle. Usually around 95°, which may show more of your messy room than you want. |
| Cost | ≈ RM100. You are only buying the stand; the camera (phone which you already have) and software (Iriun) are free. It can be lower if you can find a cheaper one. | ≈ RM112. A dedicated device requires a higher upfront cost for decent quality. |
| Convenience | Medium. Requires plugging in your phone and opening an app every time you start a meeting. | High. “Plug and forget”—it is always ready to go on top of your monitor. |
| Versatility | High. The arm allows for top-down shots (documents/sketches) or use as a general phone holder. | Low. Designed strictly for forward-facing video calls. |
Pro-Tips for the Best Experience
- Turn on “Do Not Disturb”: Vital! If you don’t, an incoming call will pause your video feed and cut you off in the middle of a presentation.
- Use Your Watch: If you have an Apple Watch, you can use the “Camera Remote” app to check your framing since you can’t see the phone screen (it’s facing away from you).
- Audio Matters: Do not use the phone microphone if it’s far away. Stick to your Fifine K669B (from the Creator Setup) or a headset for audio.
- Lighting: Even the best camera needs light. Turn on your desk lamp or light bar to illuminate your face.
Conclusion
If you are willing to spend 10 - 20 seconds plugging in your phone before a meeting, this setup gives you video quality that rivals RM800+ cameras for just RM100.
This phone-as-webcam setup works best when treated as part of a larger WFH system. If you’re building or upgrading your desk holistically, my Ultimate WFH Setup walks through how everything fits together.